Callback

How-to guides

The difference between dipped & tanalised treated timber

Learn the main differences between dipped and tanalised treated timber and which is best for your next garden room project with Noah experts.

Updated 8 min readBy Jay Wise

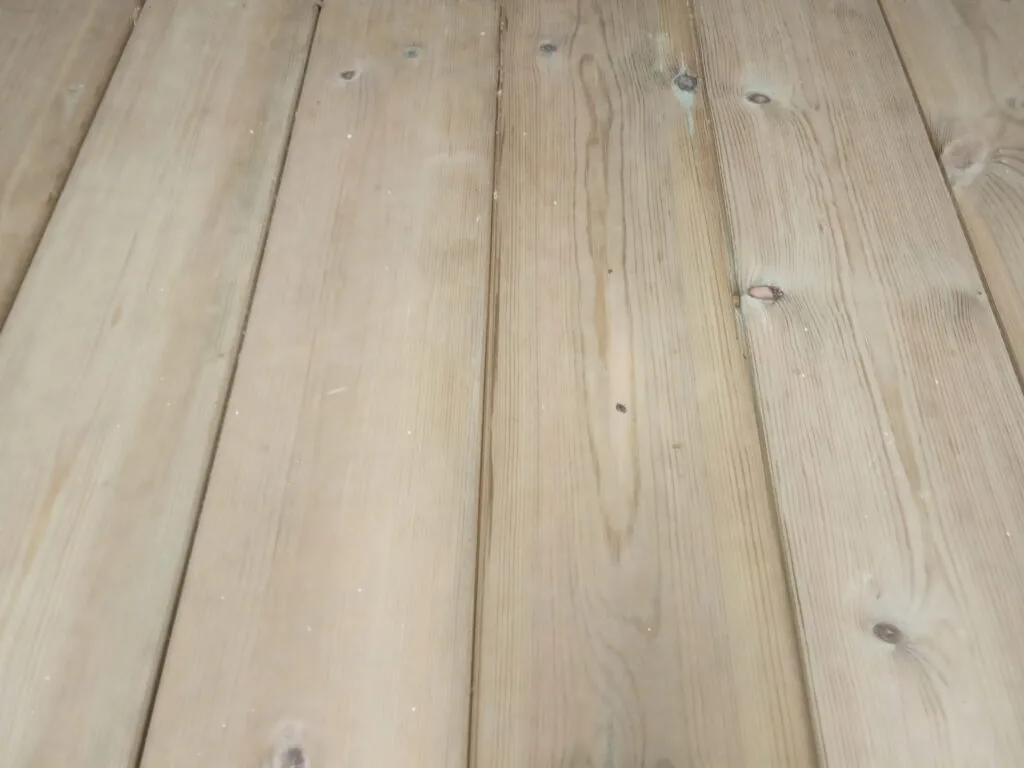
Close-up of pressure-treated timber boards

The short version

  • Dipped treated timber is faster and cheaper, but it only preserves the outside layer, so it breaks down quicker over time.
  • Pressure treated timber has preservative forced deep into it, giving more protection, but it costs more than dipped.
  • Don’t judge by colour alone: ask the supplier whether timber is dip-treated or pressure-treated, and to which use class.
  • Our terms recommend a waterproofing paint on pressure-treated timber cladding soon after installation, then yearly.

Dipped and pressure treated timber are the two most common methods for protecting timber such as your fence panels. Below, we outline the pros and cons to both treatment methods and why some people opt for a particular treatment over the other.

Dipped treated timber is a faster and cheaper process of protecting timber in comparison to pressure treated. The dipped treatment preserves the outside layer of the timber, which gives off an orange/brown finish when complete. However, as the dipping process only preserves the outside layer of the timber, this eventually breaks down a lot quicker over time compared to pressure treated, especially if it’s not maintained properly.

Pressure treated timber basically involves forcing preservative deep into the timber, giving more protection and allowing it to last much longer. The finish gives a tasteful light-green colour that most fence owners choose not to paint. However, the complex process and longer lasting timber means that this option makes it more expensive than dipped treated timber.

Overall, both treatments are widely used and it mostly comes down to your personal preference & budget. If you’re a landlord looking to refurb your property in a shorter timeframe on a smaller budget then the dipped treated method would be the most preferred. If you’re looking for low maintenance, a unique appearance and longer lasting protection, pressure treated timber is a must.

Please Note: It’s recommended that you use an oil-based paint if you choose to paint your fence panels for added protection from water.

How to tell what you are buying

  1. Ask the supplier whether the timber is dip-treated or pressure-treated, and to which use class. A good supplier can confirm it on the delivery note, the invoice or a treatment certificate.
  2. Look at a cut end. On pressure-treated timber the preservative colour usually reaches well into the wood; on dipped timber it stays close to the surface.
  3. Don't judge by colour alone. A green or brown surface tells you little about how deep the protection goes.
  4. Read the care terms. A requirement for regular re-treatment usually points to a surface treatment.

What it means for a garden building

Softwood cladding is out in the weather all year, so it should be treated by an industrial process that drives preservative into the wood, such as pressure treatment, and anything in contact with the ground needs Use Class 4 levels. Dip-treated cladding is common on low-cost sheds, and it needs regular re-treatment to stay protected.

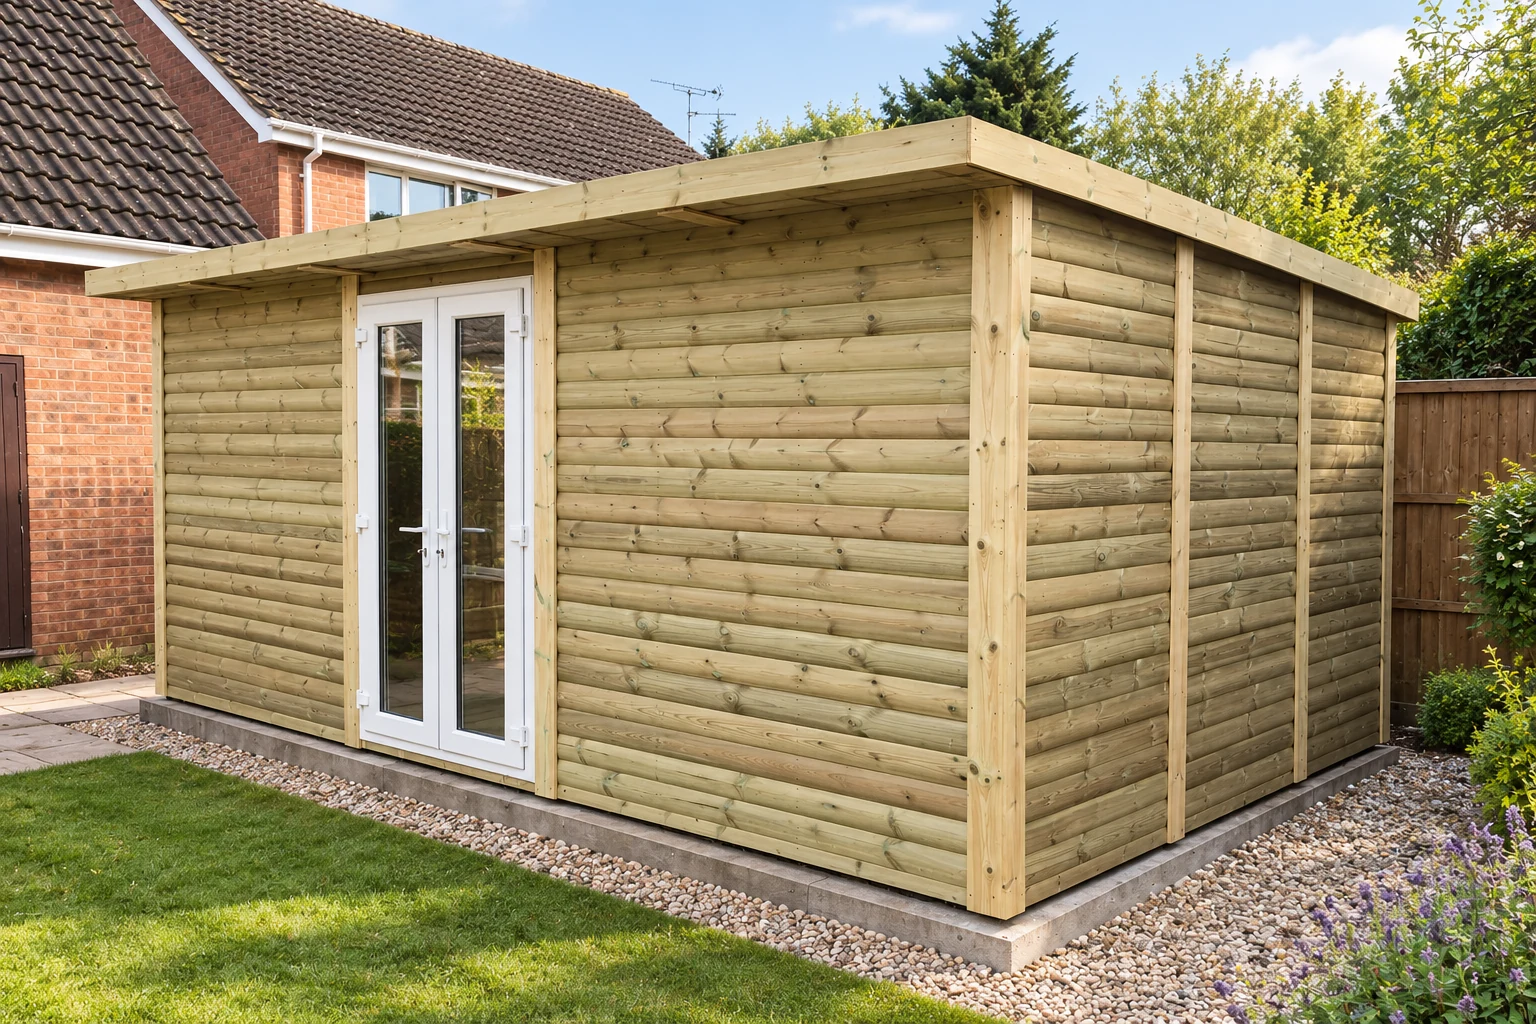
The timber cladding on our buildings is pressure-treated softwood. The configurator starts Garden Buildings and Garden Pods in it, and you can choose it on every other range. Pressure treatment protects it against rot, not water, so our terms recommend applying a suitable exterior waterproofing paint soon after installation, then keeping it up yearly or as the paint maker recommends.

If you would rather not paint, Thermowood is softwood that has been heat-treated rather than impregnated with preservative, and it needs no paint unless you want to change its colour. Western Red Cedar is naturally durable and can be left to silver or oiled, and composite needs little more than a wash-down. Our garden room cladding guide compares the claddings we offer.

If you cut or drill timber cladding, for a cable or a bracket, brush end-grain preservative onto the fresh wood, and talk to us first about any change to the structure. Never burn treated offcuts on a bonfire or in a stove. The government's rules on burning waste wood outdoors cover only clean wood that has not been painted or treated.

Sources: Wood Protection Association: preservative treatments; Wood Protection Association: buyer's guide to preservative treated wood; GOV.UK: burning waste on campfires and bonfires (RPS 50).
Written by Jay Wise, Director at Noah Garden Rooms, with the team at our Shropshire workshop. First published 6 July 2021. Updated 4 October 2026. Prices include VAT and are correct at October 2026.

Common questions

Questions we are often asked

Is tanalised timber the same as pressure-treated timber?

In everyday use, yes. Tanalised is a trade name for timber pressure-treated with Tanalith preservative, and people use it for any pressure-treated timber. What matters more is the use class the timber was treated to.

When comparing treated timber, ask for the actual product and treatment specification rather than judging protection from colour alone. The intended application matters: cladding above ground, structural components and timber in ground contact can have different requirements. Keep the supplier's care and finishing instructions with your building documents. A treatment process is not a substitute for correct installation, drainage or appropriate detailing, and it does not mean every coating is compatible. Confirm what is required before cutting, painting or altering supplied boards.

The care routine depends on the timber and any existing treatment or coating. Before painting, staining or refreshing a finish, check the supplier's instructions for preparation, suitable products and the condition the wood needs to be in. Keep a record of the finish used so future maintenance is compatible. Inspect the exterior periodically for damage and blocked details, particularly after poor weather. Avoid assuming that treatment removes every maintenance task or that a fixed repainting interval suits every elevation and exposure.

Does dip-treated timber need re-treating?

Yes. Dipping leaves the protection near the surface, so makers usually ask for regular re-treatment to keep it working. Follow the instructions for the product you bought.

The care routine depends on the timber and any existing treatment or coating. Before painting, staining or refreshing a finish, check the supplier's instructions for preparation, suitable products and the condition the wood needs to be in. Keep a record of the finish used so future maintenance is compatible. Inspect the exterior periodically for damage and blocked details, particularly after poor weather. Avoid assuming that treatment removes every maintenance task or that a fixed repainting interval suits every elevation and exposure.

When comparing treated timber, ask for the actual product and treatment specification rather than judging protection from colour alone. The intended application matters: cladding above ground, structural components and timber in ground contact can have different requirements. Keep the supplier's care and finishing instructions with your building documents. A treatment process is not a substitute for correct installation, drainage or appropriate detailing, and it does not mean every coating is compatible. Confirm what is required before cutting, painting or altering supplied boards.

How long does tanalised timber last?

There is no single figure. It depends on the use class it was treated to, the timber, how wet it stays and how it is looked after. Use Class 4 timber is made for ground contact; Use Class 3 is for outdoor timber above the ground, such as cladding.

Read the written guarantee alongside the quotation and the instructions supplied with the building. Structural cover, individual components, equipment and surface finishes may have different terms, so check which issue each document addresses. Keep order details, photographs and maintenance records available if you need to make an enquiry. Tell Noah about a suspected problem before arranging alterations or repairs that could make assessment harder. A general description of the guarantee should not replace the actual terms or imply that every item receives identical cover.

Plan a care routine around the components actually selected for the building. Exterior boards, glazing, door hardware, roof drainage and interior finishes do not necessarily share the same cleaning or maintenance requirements. Keep the supplied instructions and use compatible products. Inspect accessible areas periodically and report damage or persistent changes rather than assuming they are normal wear. Avoid obstructing ventilation or drainage, and seek advice before making structural alterations, adding heavy fixtures or applying a treatment that was intended for a different material.

Can you paint tanalised timber?

Yes, once it is dry. On the timber cladding of our buildings, our terms recommend a suitable exterior waterproofing paint soon after installation, kept up yearly or as the paint maker recommends. The treatment protects against rot; the paint keeps water out of the surface.

Before decorating timber, identify both the board product and the coating you want to use. Ask about preparation, drying conditions, compatibility and the recommended maintenance cycle rather than assuming an existing tin of paint is suitable. Test or view an appropriate sample where advised and keep product details for later touch-ups. Colour choice, exposure and access around the building can affect the practical care routine. Confirm the supplied finish in the quotation so that any work you arrange afterwards is clearly understood.

The care routine depends on the timber and any existing treatment or coating. Before painting, staining or refreshing a finish, check the supplier's instructions for preparation, suitable products and the condition the wood needs to be in. Keep a record of the finish used so future maintenance is compatible. Inspect the exterior periodically for damage and blocked details, particularly after poor weather. Avoid assuming that treatment removes every maintenance task or that a fixed repainting interval suits every elevation and exposure.

Why is some treated timber green and some brown?

The green comes from the copper in most pressure-treatment preservatives. Brown treated timber usually has a colourant added, either during pressure treatment or in a dip. The colour alone does not tell you how well the timber is protected.

Natural timber varies in grain, tone and surface appearance, which is part of choosing a wood finish. Confirm the timber product, treatment and finish in the quotation rather than relying on a general description such as timber clad. Ask how it is intended to weather and what care is recommended for the appearance you want to retain. Board layout, ventilation and the details at ground level matter alongside the timber itself. Treat a sample as an indication rather than a promise that every board will look identical.

The care routine depends on the timber and any existing treatment or coating. Before painting, staining or refreshing a finish, check the supplier's instructions for preparation, suitable products and the condition the wood needs to be in. Keep a record of the finish used so future maintenance is compatible. Inspect the exterior periodically for damage and blocked details, particularly after poor weather. Avoid assuming that treatment removes every maintenance task or that a fixed repainting interval suits every elevation and exposure.

Next steps

Ready to design your garden room?

Price your own design online in a few minutes, or come and see the buildings for real at our indoor showroom in Telford.

Free 48-page brochure

Get the Free Garden Room Brochure in Your Inbox

Forty-eight pages of finished buildings, every range with sizes and from-prices, and plain explanations of cladding, insulation and electrics. Request the brochure by email. Our team may follow up to discuss your plans.

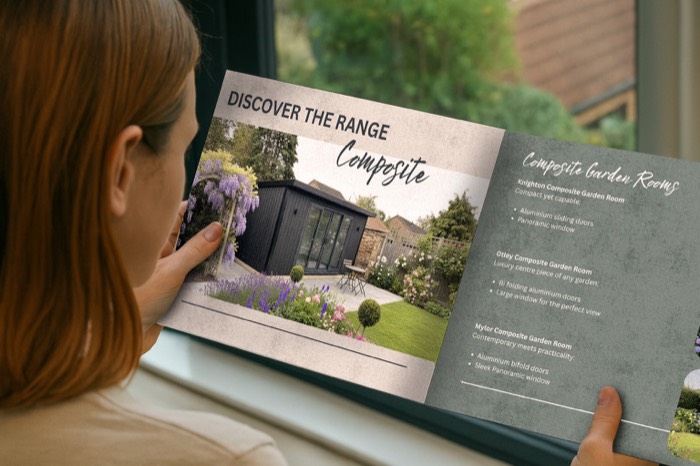
Noah Garden Rooms brochure open at the composite garden rooms pages
  • 48 pages of garden rooms and real installs
  • Every range with sizes and from-prices
  • Cladding, insulation and electrics explained
  • Emailed brochure, with follow-up from our team

Email me the brochure

Tell us where to send your free brochure and start exploring the possibilities for your garden.

We will use your details to send the brochure and respond to your request. Prefer to talk? Call 0333 051 0852.

Request a Callback

Watch Noah

Design & Get Instant Price

On-screen captions included.